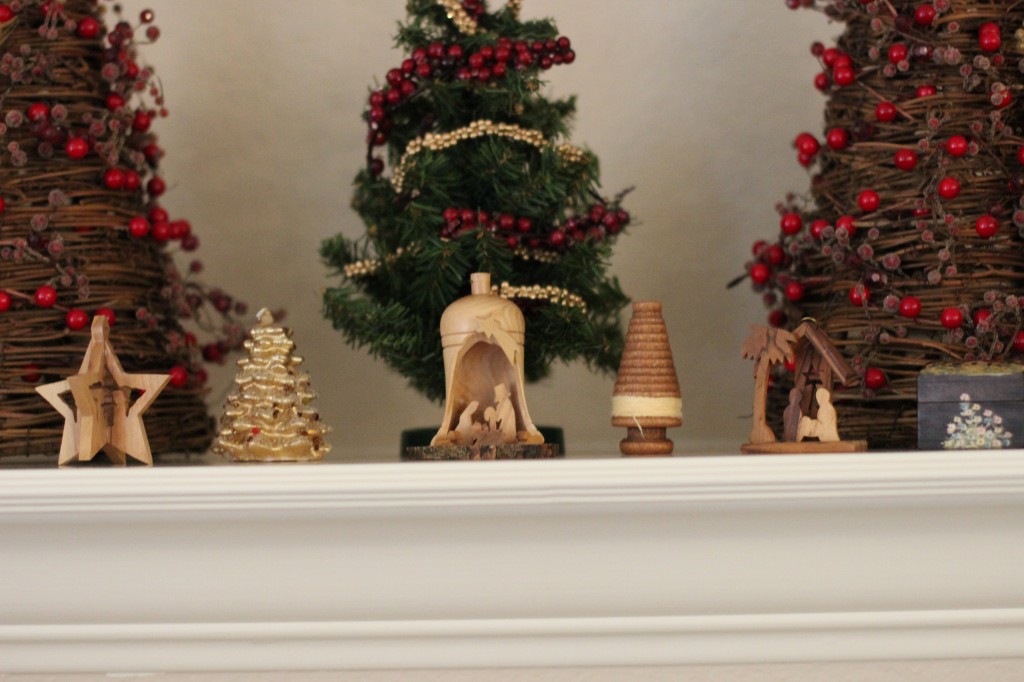
I’ve already written about decorating our Christmas tree, but I thought I’d show you a few more holiday decorations I’ve put up around the house. Since our tree is in our front living room and isn’t seen from the family room where we spend most of our time, I always like to decorate our mantel, too. Years ago, I found some basic wooden trees and spiced them up a little with berries and glitter. They come out every December and stay up through January, and the boys enjoy looking at the “tiny trees” while they play.
Ryan’s parents have given us several small, wooden nativity ornaments throughout the years, so I gathered them into a group, along with my two Matryoshka dolls that are so much fun. All together, they create a natural Christmas vignette, and I love the simplicity of it.
Our front room is literally flooded with winter light this time of year, which makes it fun and easy to photograph. Here’s our tree in the middle of the day. I should add that we inherited the artificial tree from Ryan’s parents, and it is probably over 20 years old now. How’s that for recycling? I think it looks fairly real, and it even sheds needles as much as the real thing, too.
And Ryan’s photographer friend recently loaned us his 14mm prime lens, the type used for photographing larger scenes. Ryan has been experimenting with it and captured these shots of our entire living room, a feat I’ve been unable to accomplish with our standard 50mm lens. It’s so much easier to photograph this way, and now I know how they shoot those house tours on Apartment Therapy!

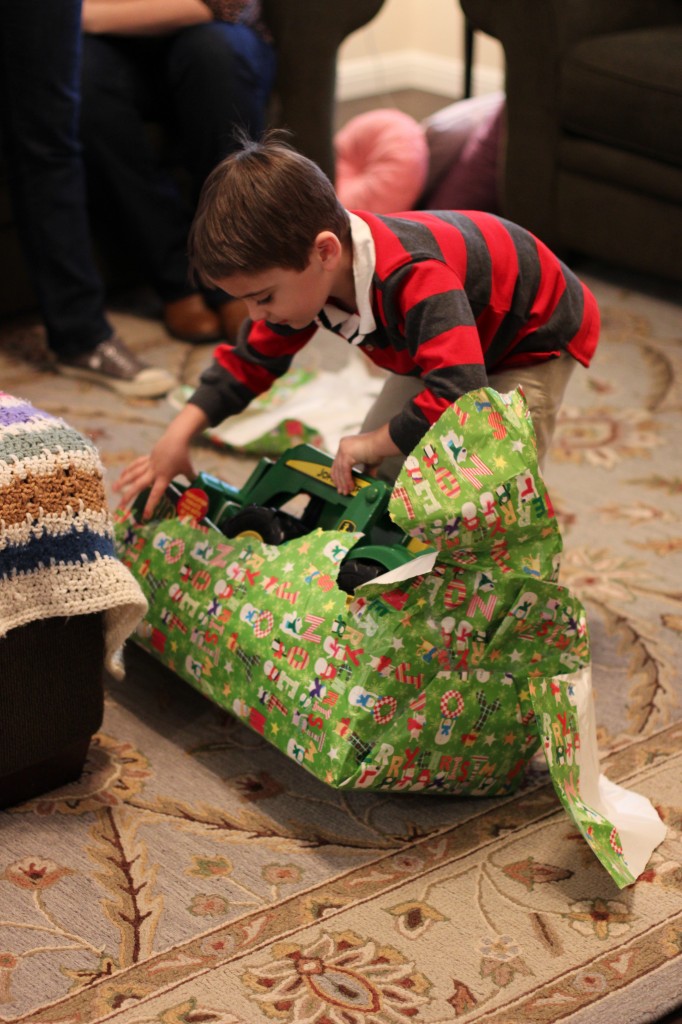
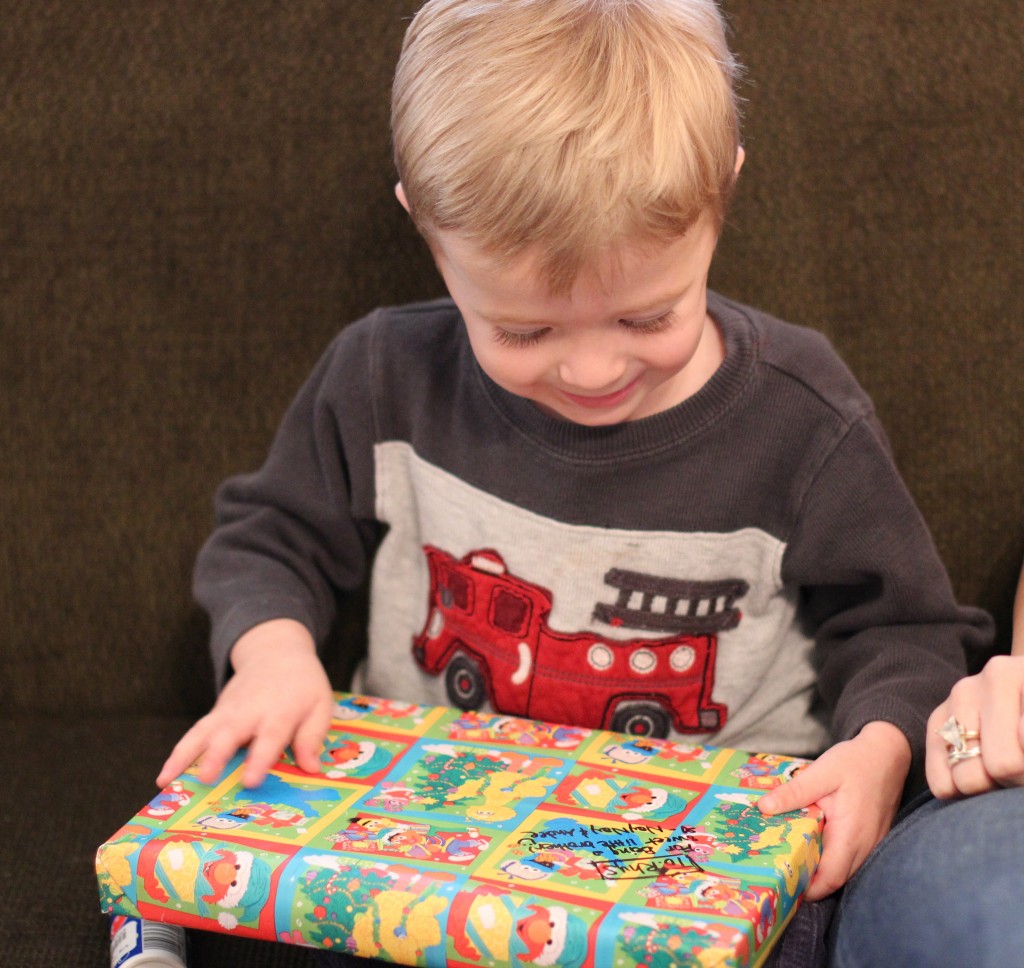
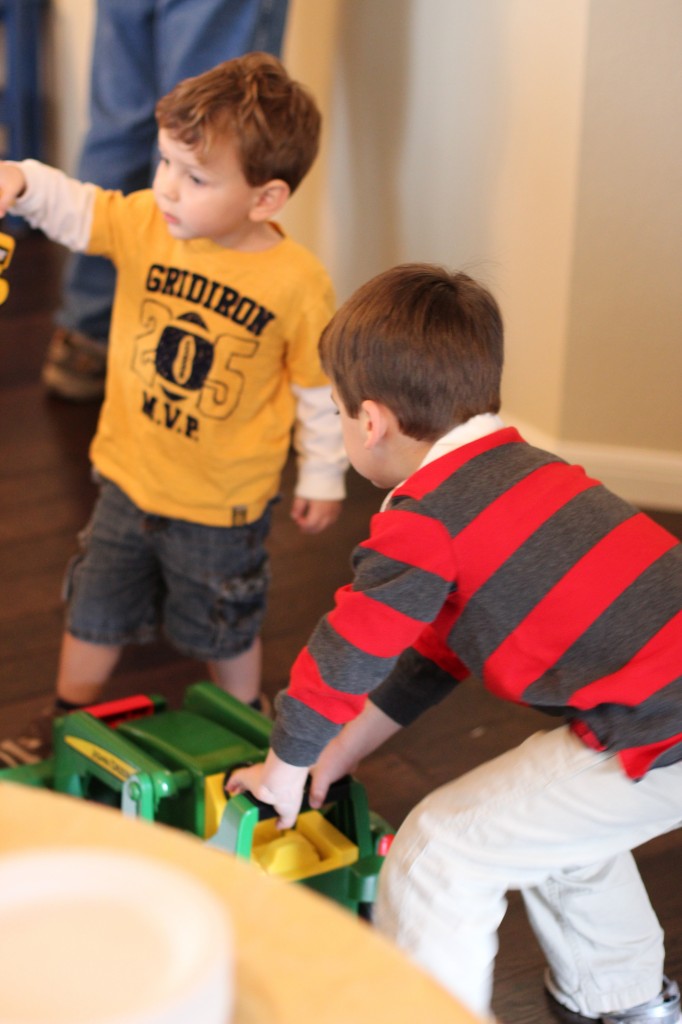
On Saturday, we celebrated James’ and Ryan’s December birthdays with family and lots and lots of food. It was a really special day, and James was especially spoiled all day long. Here are just a few pictures of the celebration.
Poor Ryan always gets lost in the shuffle a bit, but we’ll celebrate his real birthday again next weekend. And on Sunday, James’ actual birthday, we enjoyed a train ride and a trip to Dairy Queen. It was a great birthday weekend for our little guy!


(Cupcakes and Cashmere’s “Perfect Chocolate Chip Cookies.”)
I’m a big fan of Cupcakes and Cashmere, the famous blog by Emily Schuman. It was my introduction to the world of fashion blogging, and since she is such a consummate blogger and writes regularly, I faithfully read her daily posts the moment I wake up each morning. I’ll never wear the designer pieces she showcases or take the time to create a glitter manicure, but I love her simple elegance and I look forward to her take on things. I bought Schuman’s book last summer and enjoyed its simplicity, too. It’s really a companion piece to her blog and expands upon some of the basic ideas she covers each week, from fashion and decorating tips, to delicious recipes.
Last Thursday was the boys’ last day of school, and I wanted to send something fun and easy for their class parties, so I tried the recipe for “Perfect Chocolate Chip Cookies,” from the Cupcakes and Cashmere book. It was simple and delicious, and the boys loved the yummy cookies, so I consider it a huge success! (This particular recipe is not listed on Schuman’s blog, but there are several other chocolate chip cookie recipes featured there.)
To be perfectly honest, the recipe itself is your basic, run-of-the-mill cookie recipe, but what inspired me to try it was her description of the ingredients. I’m not a true cook or baker, in that I don’t particularly enjoy the process, but I do keep basic ingredients on hand and I can easily whip up a batch of cookies or muffins if the mood strikes me.
But Schuman discusses the importance of using only the very highest quality ingredients and (this part is key) allowing the butter and egg (this recipe calls for 1 large egg) to warm up to room temperature before adding them. I’m always a rushed cook, and just grab things as I go, so the idea of waiting for ingredients to reach room temperature was new to me. I will often melt butter in the microwave to soften it, but this time, I let it sit out for a while, along with the single egg, until they weren’t so cold to the touch.
And since I’m a lazy cook and employ the use of my KitchenAid mixer, I have been known to leave it mixing while I run in the other room to do something, like check on the boys or put some laundry in the dryer. According to Schuman, over-mixing only results in flat, dry cookies, and I can definitely attest to the truth in that statement. So this time, I was extremely careful not to leave my mixer unattended, and I was rewarded with three-dimensional cookies that were crispy on the outside and soft on the inside, just like the book describes them.
Since they were really for school the next day, I had to ration the boys’ portion, but they were still a big hit! I stored them in plastic cookie containers overnight, and I think they dried out a bit the next day, making them crunchy, but they still tasted delicious, and I will definitely pay closer attention to my ingredients and mixing time from now on.
Who knew making chocolate chip cookies could be so educational?


